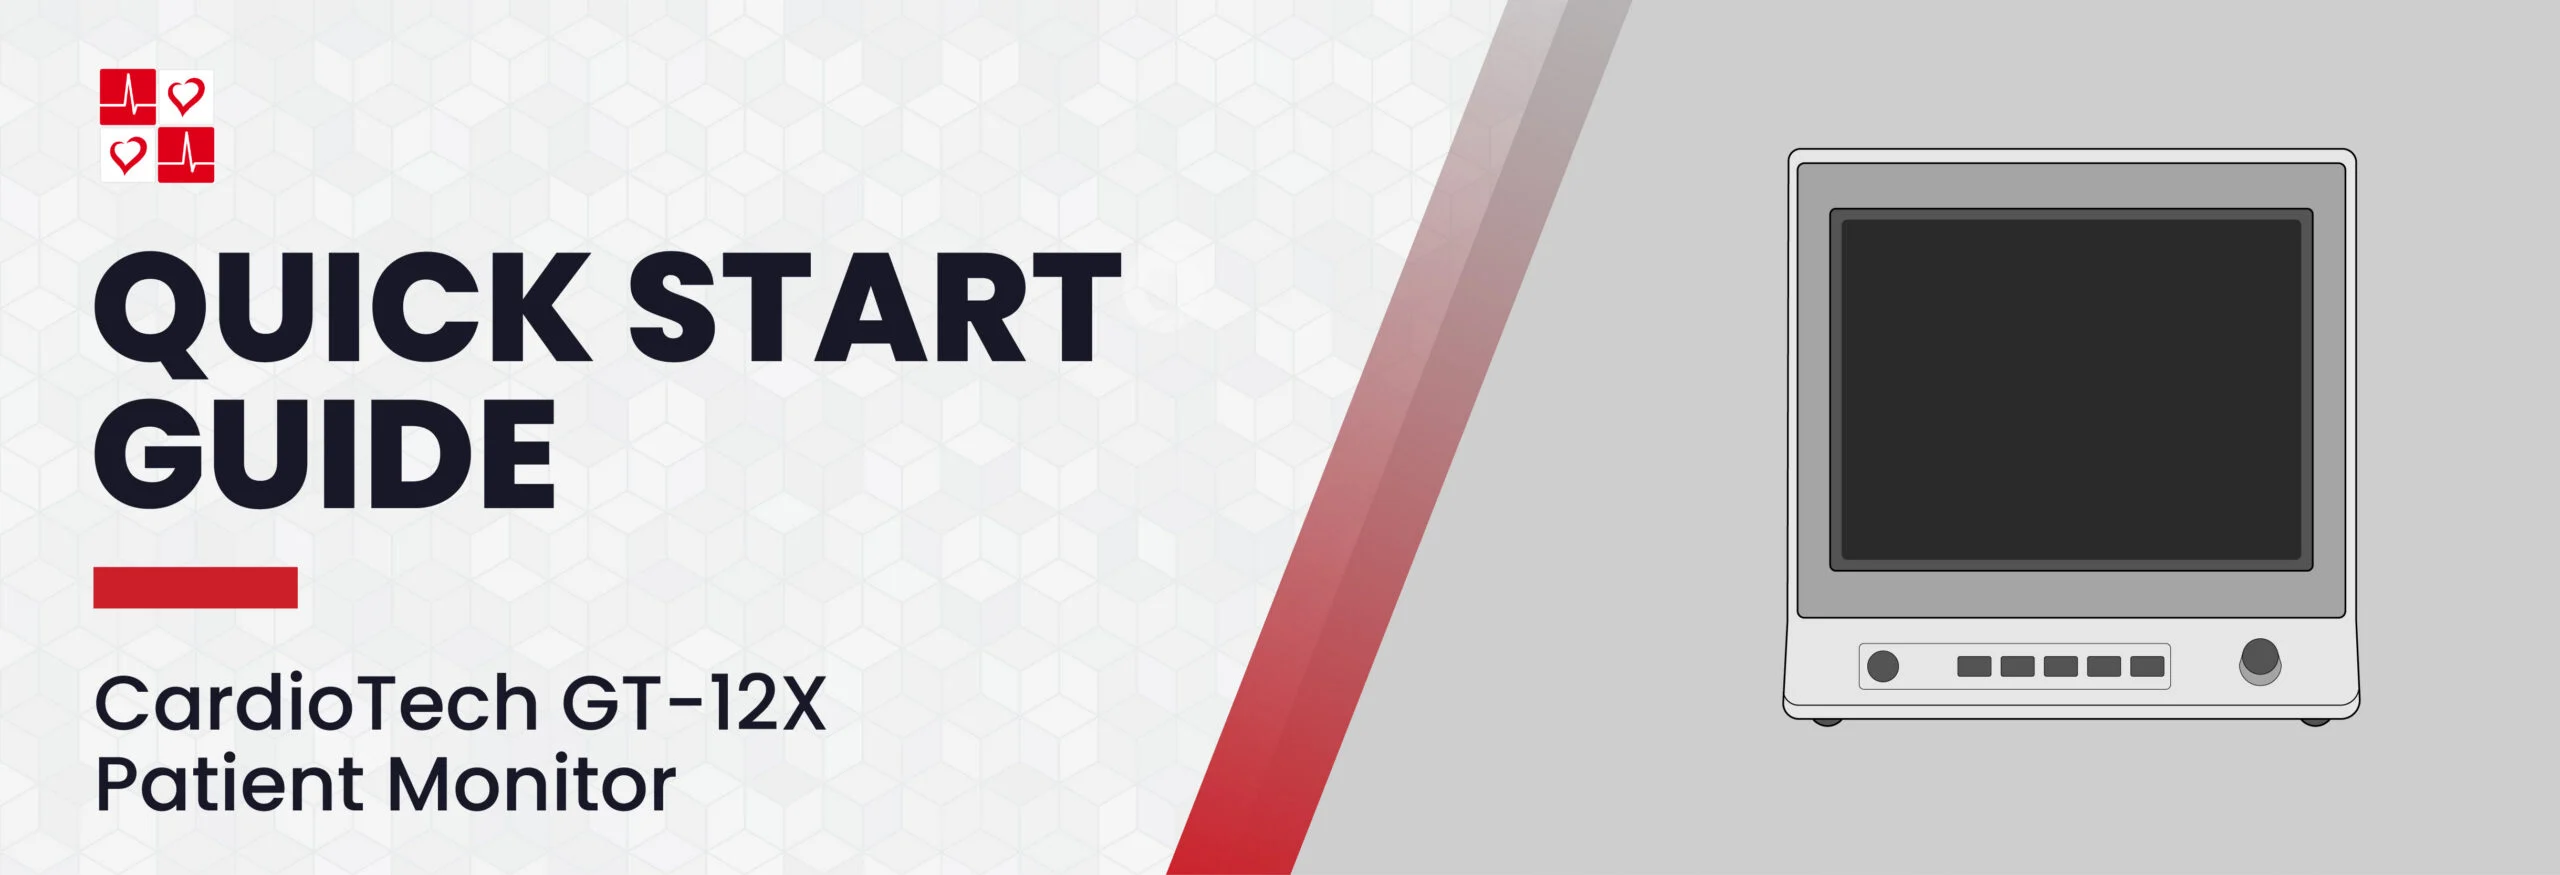
CardioTech GT-12x Patient Monitor Quick Setup Guide
How to Install the Battery on the CardioTech GT-12x
How to Install the Printer on the CardioTech GT-12x
How to Power On the CardioTech GT-12x
Settings to Change Before using the CardioTech GT-12x
Troubleshoot Issues
Basic Setup
How to Install the Battery on the CardioTech GT-12x Patient Monitor
- Turn the GT-12x around to reveal the backside of the unit. Unscrew the battery compartment door off.
- Insert the wires into the designated socket, then place the battery and the battery board into the compartment.
- Replace the battery compartment door and screw in to secure the door.
How to Install the Printer on the CardioTech GT-12x Patient Monitor
- Use the flathead of a screwdriver to remove the printer cap, located on the right side of the GT-12x.
- Pull out the wires to reveal the 2 white connectors.
- Pull down the latch to open the printer door. Unscrew the 2 screws inside of the paper compartment, and remove the compartment from the printer housing to expose the back side.
- Feed the wires from the GT-12x through the slot on the left side of the printer housing.
- Plug the wires from the GT-12x into the appropriate slots located at the back of the paper compartment. Place the compartment inside the printer housing and screw it back into place.
- Secure the printer with the monitor using the included plate and screws (01.19.057271) on the underside of the machine.
- Insert the roll into the paper compartment, then close the printer door, with the first page of paper hanging over the printer. The printer is ready to be used.
How to Power on the CardioTech GT-12x Patient Monitor
- Plug one end of the AC Power Cable into the power supply socket, located on the backside of the GT-12x. Plug the other end into an AC Wall Outlet.
- Turn on the GT-12x by pressing the power button.
Settings to Change Before using the CardioTech GT-12x Patient Monitor
How to Enable the Recorder
- Click the ‘Menu’ Button.
- Select ‘Maintenance’, then ‘Factory Maintain’.
- Enter password “998”.
- Select “Module Select”, then “Recorder”.
- Switch ‘Off’ to ‘U’.
- Restart the Monitor.
How to add the Recorder Shortcut
- Click the ‘Menu’
- Select ‘Maintenance’, then ‘User Maintain’. Enter your created password.
- Select ‘Shortcut Setup’, scroll to the right and check mark ‘Record’.
How to Print Live Parameter Readings
- Click the ‘Menu’ button
- Select ‘System Setup’, then select ‘Recorder Setup’
- Select a parameter for waveform 1, 2 and 3.
- Press the ‘record’ button on the front of the unit to print out the desired waveforms.
How to Print Review Trend Graphs/Tables
- Click the ‘Menu’ button.
- Select ‘Review’, then choose ‘Trend Graph’ or ‘Trend Table’ (From review, you may also print Alarm Review, Patient History, NIBP Review and ARR Review.)
- Choose the desired scale/interval, then press ‘Record’.
How to Change the Temperature to Fahrenheit
- Click the ‘Menu’ button
- Select ‘System Setup’
- Select ‘Temp Setup’
- Change the temperature setting from °C to °F
How to Change the Electrode Type from 5-Lead to 3-Lead
- Touch/Click the ECG Heart Rate Parameter Box
- Under electrode type, select ‘5-lead’ and change to ‘3-lead’
Troubleshoot Issues
How to Set the Pitch Tone Through the SpO2 Sensor on the GT-12x
- On the main display, click into the ECG section to bring up the ECG setup menu
- Change “HR from” to SpO2.
- Go to the SpO2 section to bring up the SpO2 setup menu to make sure the pitch tone is turned on. (You can also increase or decrease the volume of the pitch tone in this menu.)